Image to Video
Turn one image into an AI video. Upload a photo, describe subject or camera movement, and select the model, duration, audio and supported frame settings.
Start with: One reference image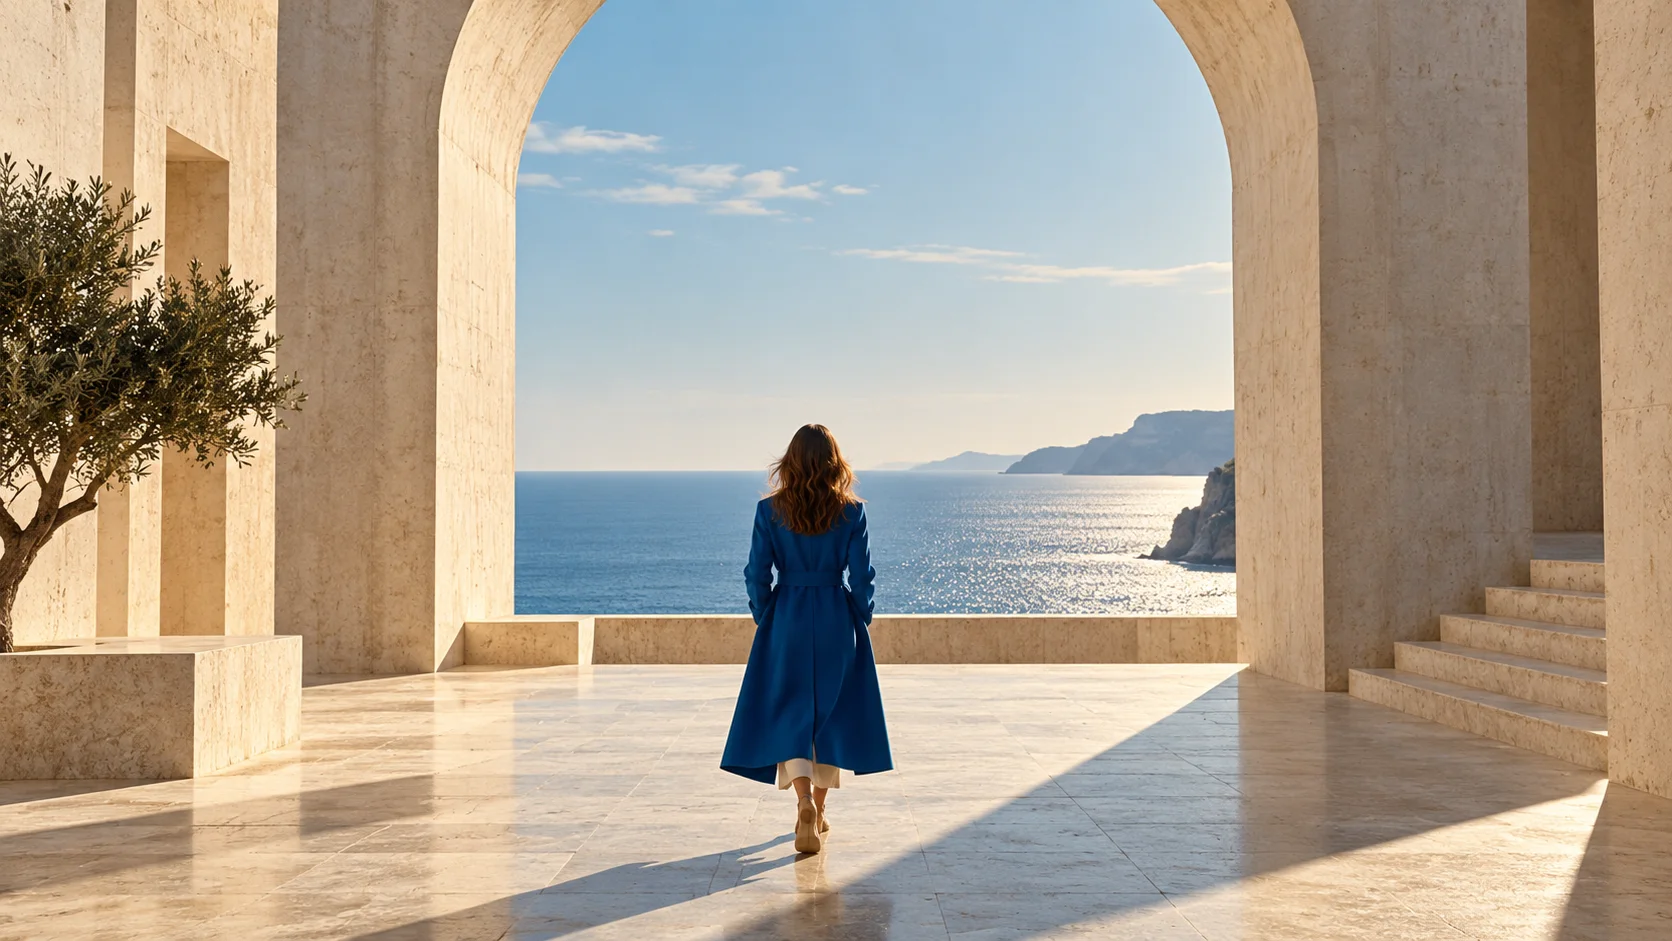
Choose your next creative step
Change the starting material, the subject, or the movement. Here is where each tool helps.
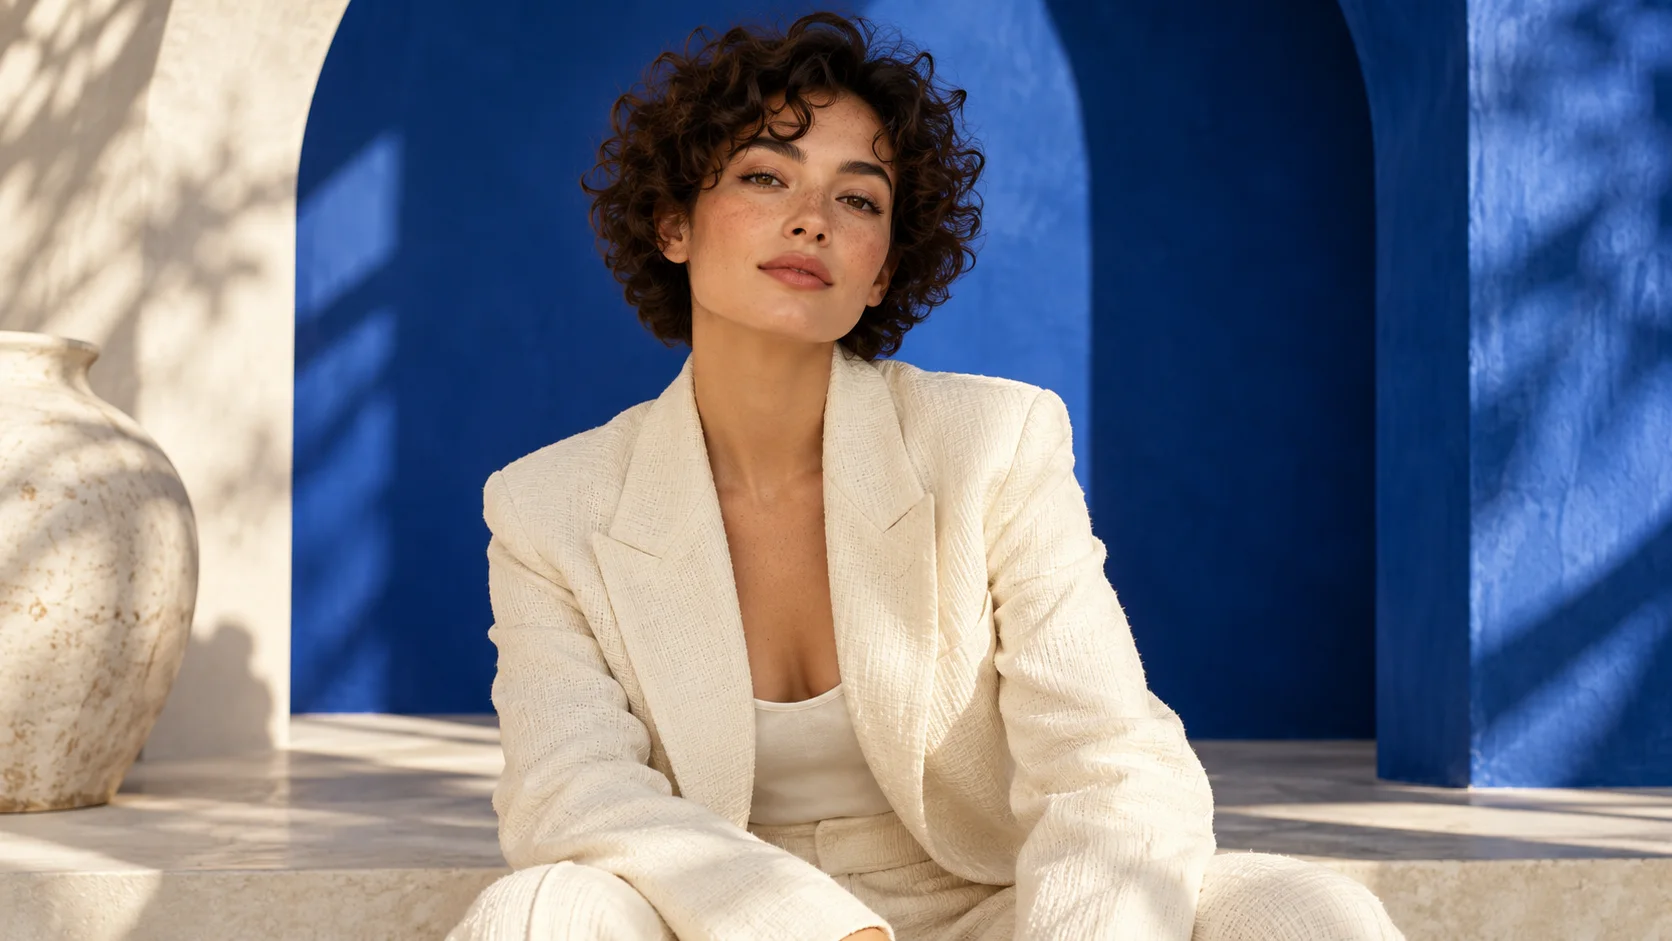
Cinematic Portrait
Preview and preparation guide; dedicated generation is not yet available.
One reference image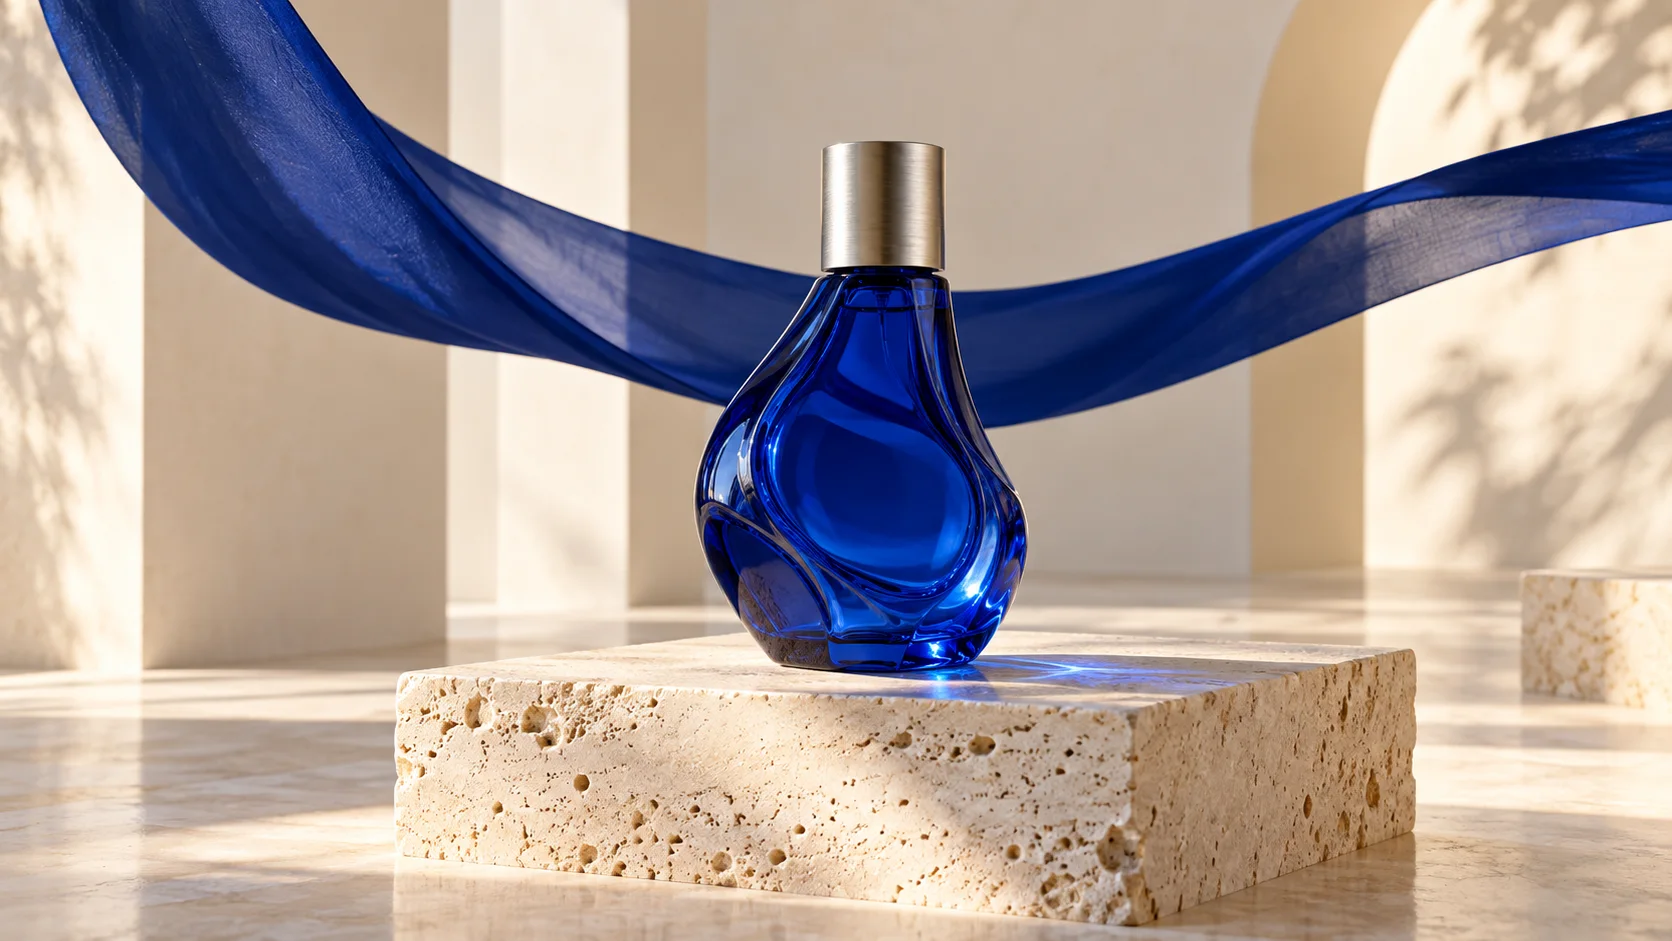
Product Orbit
Preview and preparation guide; dedicated generation is not yet available.
One reference image
Text to Video
Try a different setting without preparing a reference image.
A written scenePrepare. Direct. Review.
Use these three steps to give your scene a clear direction.
Back to the creator- 01
Choose your starting frame
Upload a clear photo, illustration, or product image with a visible subject.
- 02
Describe what changes
Add one subject movement and one camera direction. Keep the scene focused.
- 03
Generate and review
Choose an available model, generate your clip, and review movement and fine details before downloading.
Give your idea a head start.
- Leave space around the subject for camera movement.
- Describe motion instead of repeating everything in the photo.
- Begin with a gentle push-in, breeze, or small gesture.
A few questions, answered.
Get to know image to video before you start.
How do I turn a photo into an AI video?
Upload one clear image, describe the movement you want, choose a model and supported settings, then generate. Start with a small gesture or slow camera move; an AI video can alter faces, text and fine details.
Which image formats and file sizes are supported?
This site accepts images up to 10 MB. Use JPEG or PNG for the broadest model compatibility. Some models also accept WebP; the selected model shows its formats before upload.
Can the generated video include sound?
Yes, when you select a model option marked with audio. Silent options do not request an audio track. Describe the desired dialogue, ambience or sound effects in the prompt; enabling audio does not guarantee every requested sound will be reproduced.
Can I choose a vertical or landscape video?
Select a supported ratio in creation settings. Some image-to-video models derive the output ratio from the source image and do not accept a separate ratio. Crop your source image to the intended framing before uploading when that model uses the source ratio.
How much does image-to-video generation cost?
Each generation uses the credit amount shown for the selected model and duration before submission. Audio and resolution choices can change that amount. See Pricing for credit packages; a longer or higher-resolution clip may cost more.
What happens if generation fails?
A task recorded as failed has its deducted generation credits restored. An output you dislike is not automatically classified as a failed task. Check My Works for the task status before retrying to avoid submitting another paid generation.
A little guidance for your next creation
Your turn to make it happen.
Start with the example. Then add your own perspective.