Stereo Love Funk video edit: pick the sound, plan the clips
Choose the right Stereo Love Funk version, prepare photos or dance footage for a CapCut template, and generate only the extra shots your edit needs.
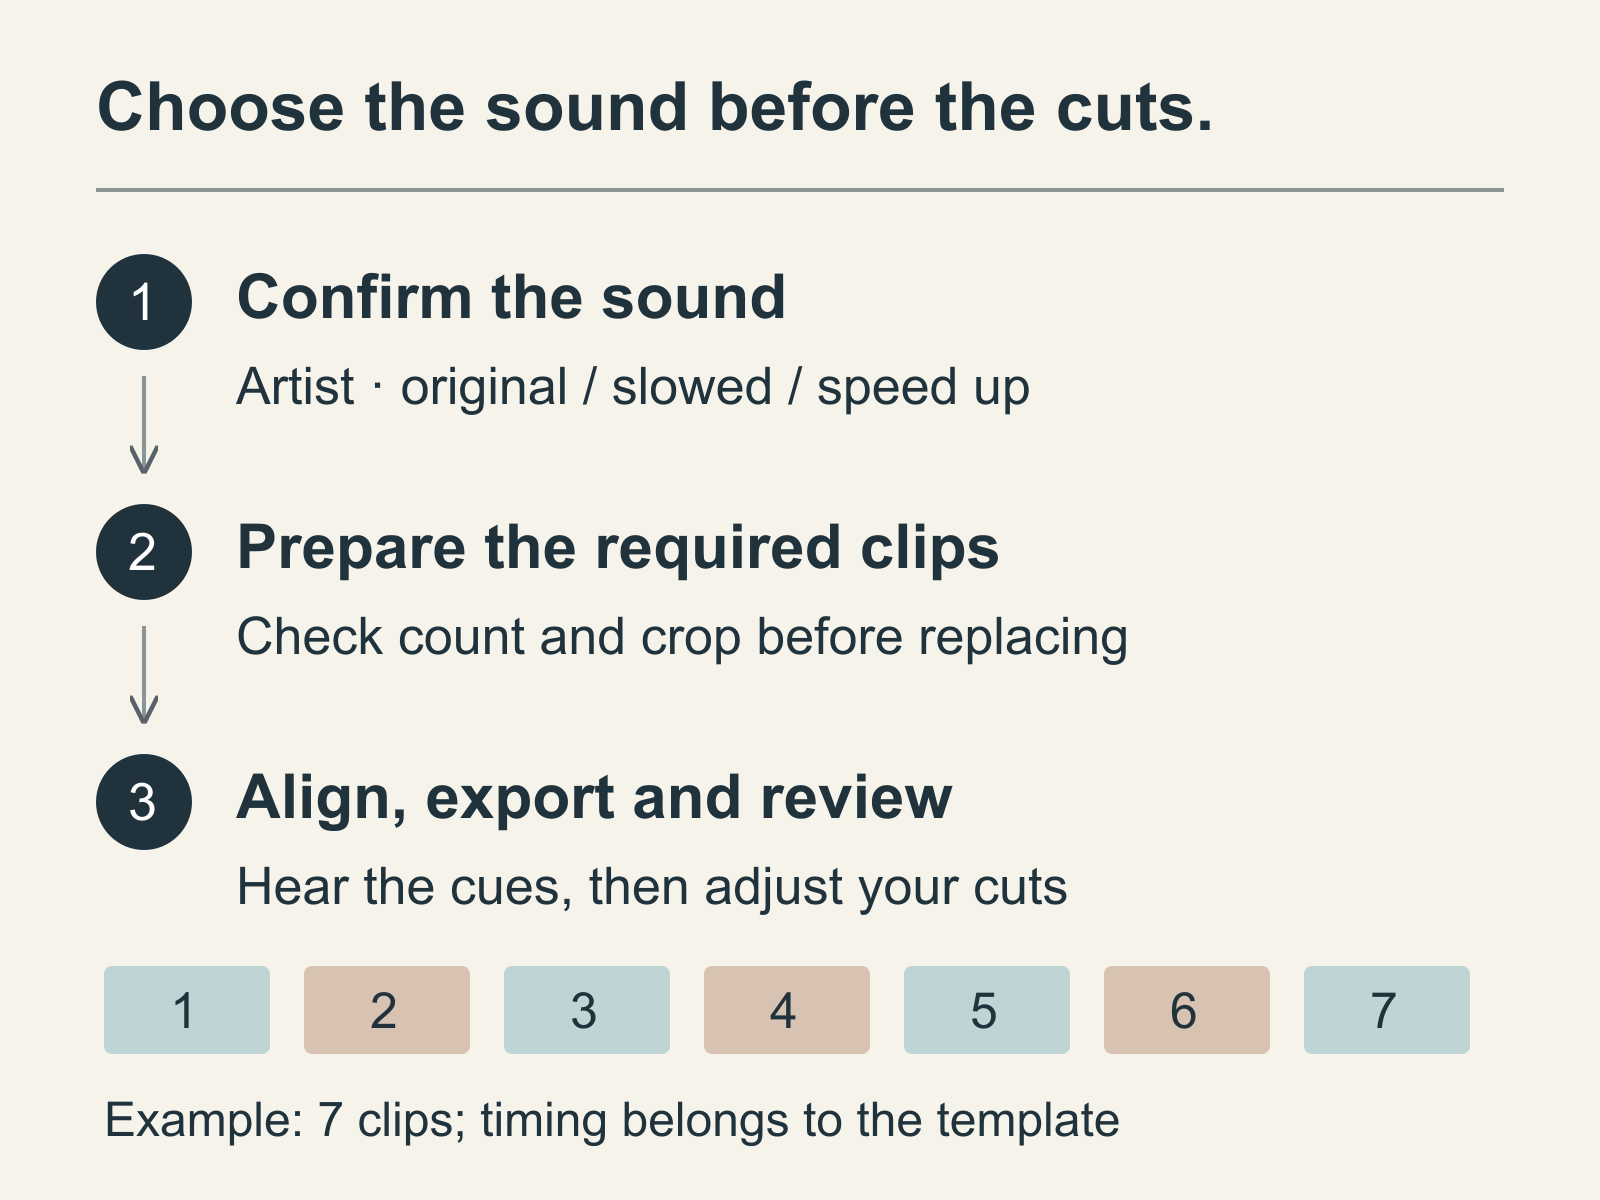
A Stereo Love Funk edit is easier to finish when the sound and template are chosen before you make more footage. Some people want to film the dance; others want a photo montage that cuts with the music. An AI video can supply a missing shot, but it does not choose the right remix, teach the dance or automatically turn a folder of pictures into the template you saw.
Match the sound to the video you liked
Open the reference post’s sound credit and note the artist, version and selected excerpt. The title alone is not enough. Cotneus, PVNZER and Kngmn’s Stereo Love Funk EP on Spotify lists the original, Slowed, Ultra Slowed and Speed Up versions. XLKA also has a same-named recording on Apple Music, and other funk remixes use similar names. Treat the name as a search starting point, then compare the credited track with your reference.
This matters before editing: changing to a slower version after placing cuts can move every cue. Save the intended sound in the app where you will edit or post, and check that it is available for your account and use. A template’s music preview does not establish permission to publish the recording everywhere. This guide does not supply an audio download.
Choose a template before counting your photos
For a montage, inspect the specific CapCut entry rather than assuming “upload one photo.” Aloprojects(INA)’s Stereo love funk template lists seven clips in 9:16. FedryDwi’s version lists 22 clips in 9:16, while meyy_’s entry lists 22 in 3:4. Recheck the entry when you open it: availability, requirements and any charges are controlled by CapCut.
Choose the one that fits the material you have. Lay out the required number of photos or short clips in order, keep the main face near a similar position and leave space around the subject for the crop. Put your clearest image on a moment the preview lets the viewer actually see; a blink-length transition is a poor place for a photo that needs explanation. Replace the slots, watch the preview, and correct crops before exporting. Do not change aspect ratio halfway through and hope the template will protect every face.
If you are assembling cuts yourself, place the selected audio excerpt first. Mark the audible cues in that excerpt, arrange the footage around those marks, then play it at normal speed. There is no universal “drop at second eight” across different recordings and templates. Use the beats you hear in your chosen version rather than a timing recipe copied from another sound.
If your goal is to learn a particular dance, start with a creator’s demonstration and record your own performance. This page focuses on preparing an edit and filling gaps in its media, rather than teaching choreography.
Generate the missing shot, then return to the edit
A useful AI task is smaller than “make the whole trend.” Your montage might need a coat detail, a street view or a brief portrait moment to connect two photographs. Kadenly’s Image to Video can animate a supplied image with an editable direction; Text to Video can create an original scene when no identity reference is needed. Choose a model and supported format, and review its current credit quote before submitting.
For a restrained portrait insert, you can copy this untested original prompt:
Animate the adult in @Image1 in one short vertical shot. Preserve their face and visible outfit. They look just past the camera, adjust one jacket cuff below chest level, then settle into a relaxed pose. Keep the camera fixed, the background unchanged and both hands clear. No dance choreography, scene transition, text, dialogue or music. Leave a still moment at the end so the editor can choose a clean cut.
Choose a Silent model option if you intend to add music later. Kadenly cannot upload your Stereo Love Funk track, automatically beat-sync an export or copy a tutorial’s dance from its title. Generated frames can also change hands or facial details, so inspect the insert before spending time aligning it. Once it works, import it into CapCut with the rest of your material, trim only the passage you need and make the cuts against the chosen sound. Watch the exported file once more for an unintended crop, a bad transition or two audio tracks playing together.